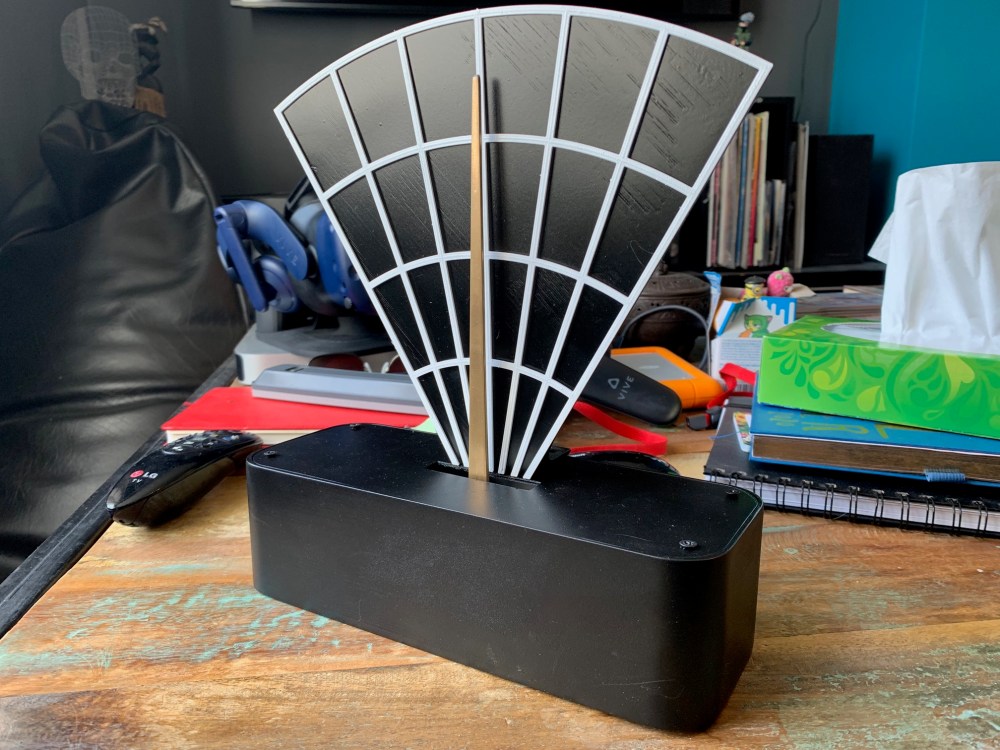
The Pointer is effectively finished – version 1, at least. I’ll outline the process from freshly-printed to what you see below:
First, Polyfilla, believe it or not. The banding that seems to be part and parcel of 3d printing (at least at the amateur level) consists of both peaks and valleys. The valleys will stubbornly persist without filling – this was a tip from John Hopkin (thank you :)). Polyfilla, watered down to an appropriate consistency, fills those gaps. It’ll need to dry, then…
Sanding – and lots of it. I got this pack of assorted grit sandpapers, 120 through 3000. Every important surface wants to be evened out. The finer grades won’t do much to remove visible marks, only make things smoother. The more I do this, the more I think you could spend upwards of 50% of the total sanding time with the roughest grit.
Finally, spray-painting. This one’s pretty obvious, I guess. A few coats did the trick for what you see above. Matte black, gloss white and metallic gold in theory: though it’s not perfect. Need to get some of that Vantablack, I think.
Overall, it’s pretty neat. Things to be improved:
- I didn’t Polyfilla the back plate. I figured raw effort on the sanding would even everything out – but as you can see, some “scratch” effect remains.
- I should have found a way to do countersinking for the screws, at least the external ones. Printing a countersink into it, or just buying an appropriate drill bit, although that might mush things up a bit.
- Somehow the texture of the paint on the front face is not smooth. It wasn’t perfectly dry this weekend, and I dabbed it to remove some droplets. Given more time I might re-sand and re-finish.
But, a thing finished!
